Are you ready to start your blogging journey? This article will guide you step-by-step on how to use our editor to create your first blog.
Editing Your Text
The blog comes with text as an example, but it's time to make it your own.
Select text to delete, edit, make it bold, italic, and add links—just like in any other editor. See the image above:

Customizing Your Template
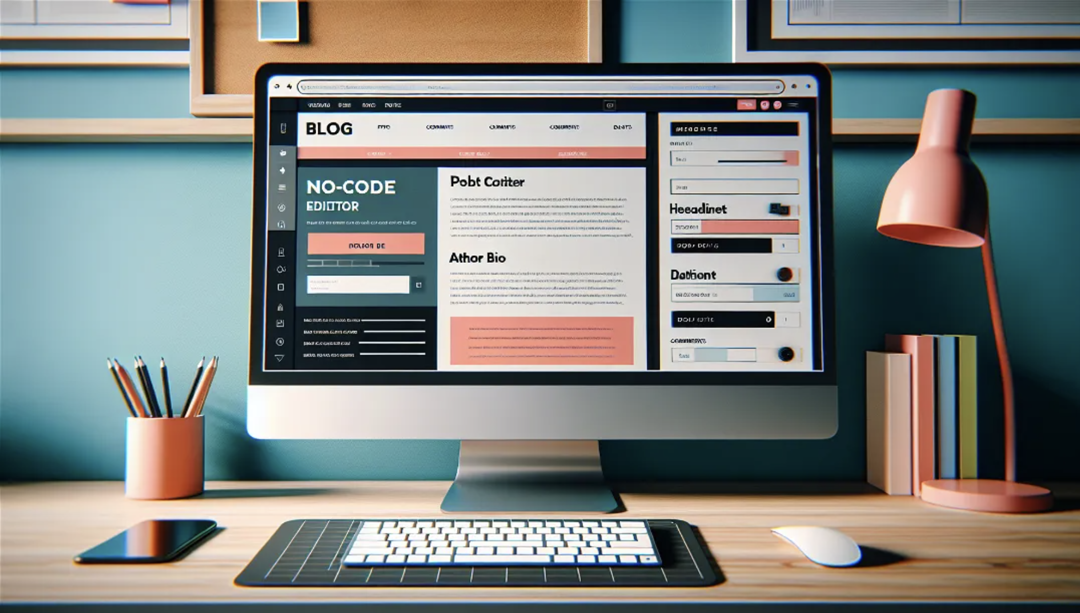
Our editor allows you to customize every aspect of your template. You can change the colors, fonts, and add extra features, such as a contact form or a search bar to match your needs.
Find more by clicking on the Customization tab in the top bar:

Adding Content
After customizing your template, you can start adding content.
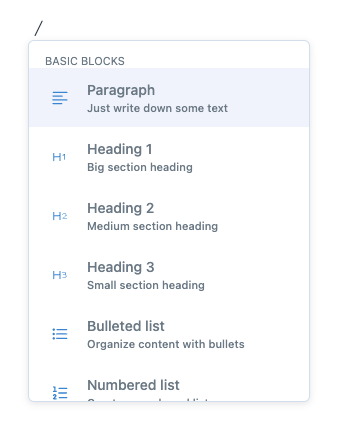
You can add headings, images, videos, and other elements to make your blog more engaging. Type "/" in a new line to find all block options.
Deleting Content
All the content here is for reference. By selecting text and images, you're able to delete most of the content.
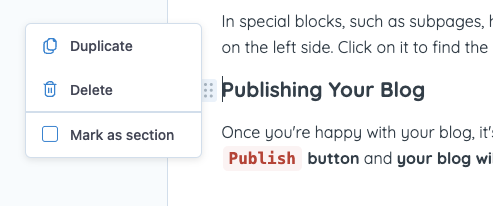
In special blocks, such as subpages, hover over the block, and a 6-dot icon will be displayed on the left side. Click on it to find the Delete option. This works for any type of block.
See image:
Publishing Your Blog
Once you're happy with your blog, it's time to publish it. All you need to do is click on the Publish button and your blog will be live.
